1. Login to the cPanel, https://smeXX.small-dns.com:2083
2. Click on SSL/TLS Status
Image may be NSFW.
Clik here to view.
3. Verify your SSL certificate status; by default, self-signed SSL certificate will be created for all the new accounts in cPanel. In order to install ” Let’s Encrypt SSL certificate”, we have to uninstall the current self-signed SSL certificate.
Image may be NSFW.
Clik here to view.
4. To uninstall the current self-signed SSL certificate, click on SSL/TLS
Image may be NSFW.
Clik here to view.
5. Click on Manage SSL sites
Image may be NSFW.
Clik here to view.
6. Uninstall the current self-signed SSL certificate
Image may be NSFW.
Clik here to view.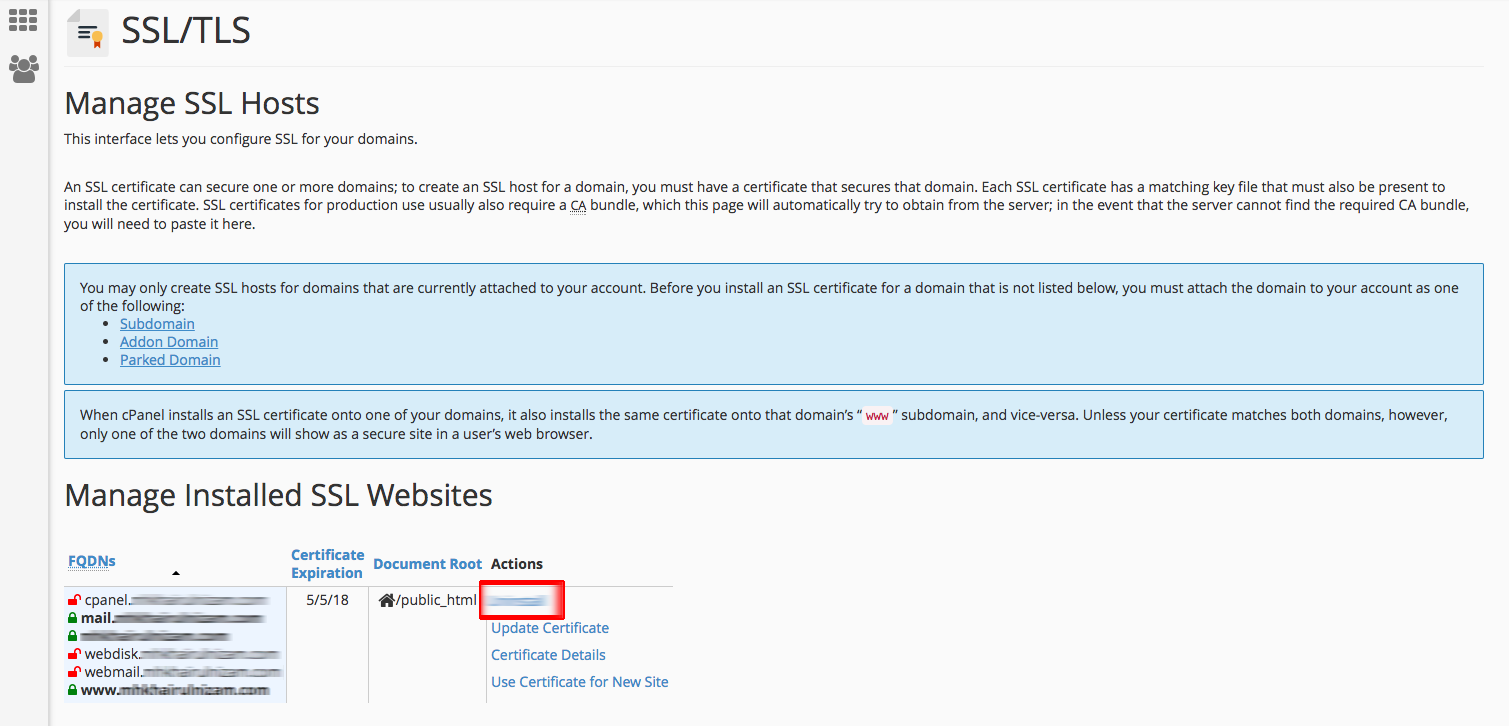
7. Now, we will start to install the SSL certificate, click on “Let’s Encrypt”.
Image may be NSFW.
Clik here to view.
8. Click on New SSL certificate
Image may be NSFW.
Clik here to view.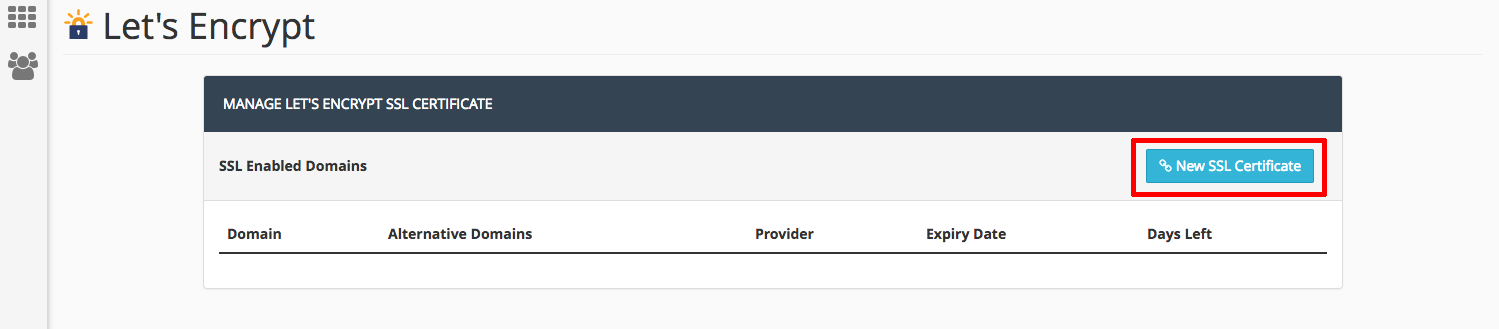
9. Select your domain name and alt-domains that you like to install the SSL certificate for. Please make sure the domain name is resolved to the current SME Hosting IP address, else you will be getting an error.
Image may be NSFW.
Clik here to view.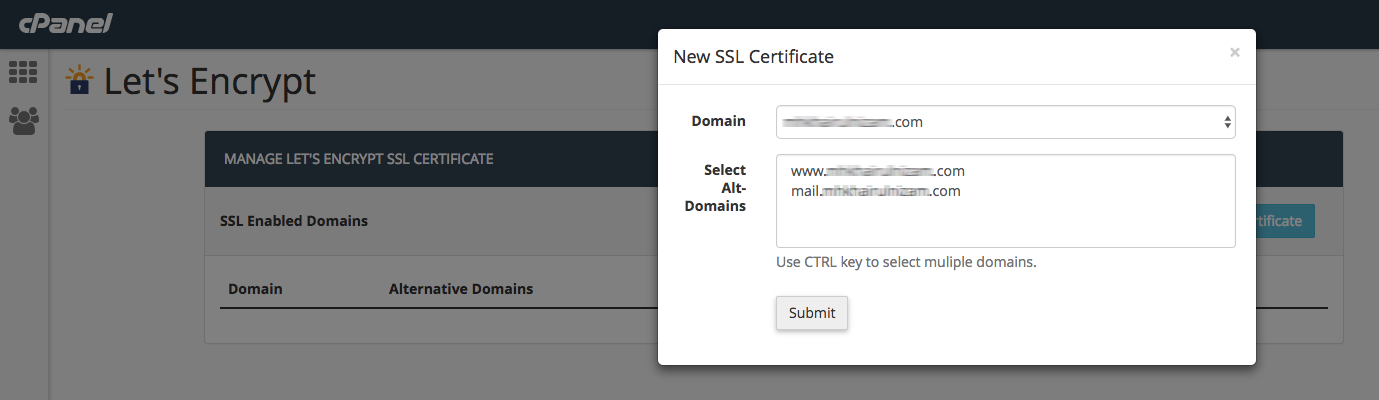
Image may be NSFW.
Clik here to view.
10. Back to the front page of cPanel and click on the Let’s Encrypt, the SSL certificate details will appear.
Image may be NSFW.
Clik here to view.
11. Verify the SSL certificate by browsing your site with HTTPS or you can verify with online tools: https://www.sslshopper.com/ssl-checker.html
Please bear in mind, the validity of Let’s Encrypt SSL certificate is 90 days, you can get the explanation about it in here. But, no worries, the cPanel will help you renew it automatically and it will be renewed within 5 days before expiry date.
