Step 1: Download latest version of FileZilla Server from here.
Step 2: Run the installation. Click “Next” till the end and then click “Install”.
Step 3: Run the program. Type in your server address and click “OK” to connect. By default there is no need for password.

Step 4: Once connected, we first need to create user for FTP. Click on the “Edit” tab and click on “Users”.

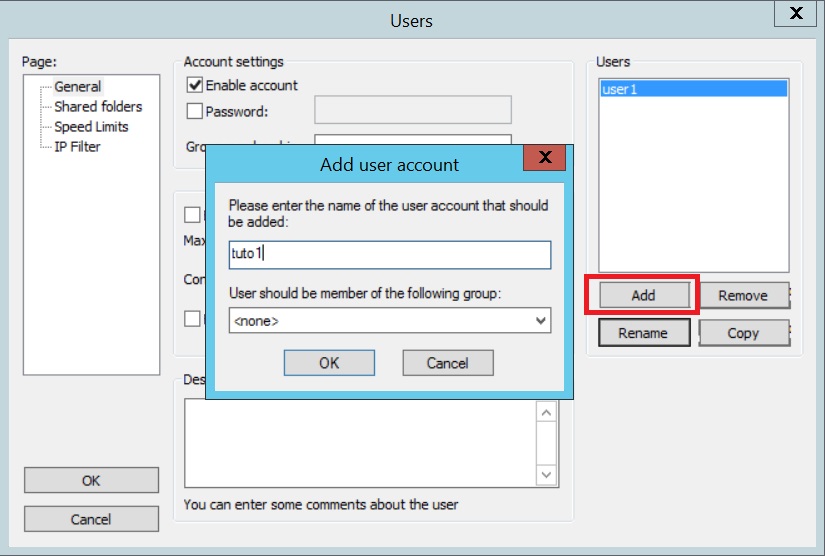
Step 5: Press “Add” under the Users box to add a new user account for FTP server.
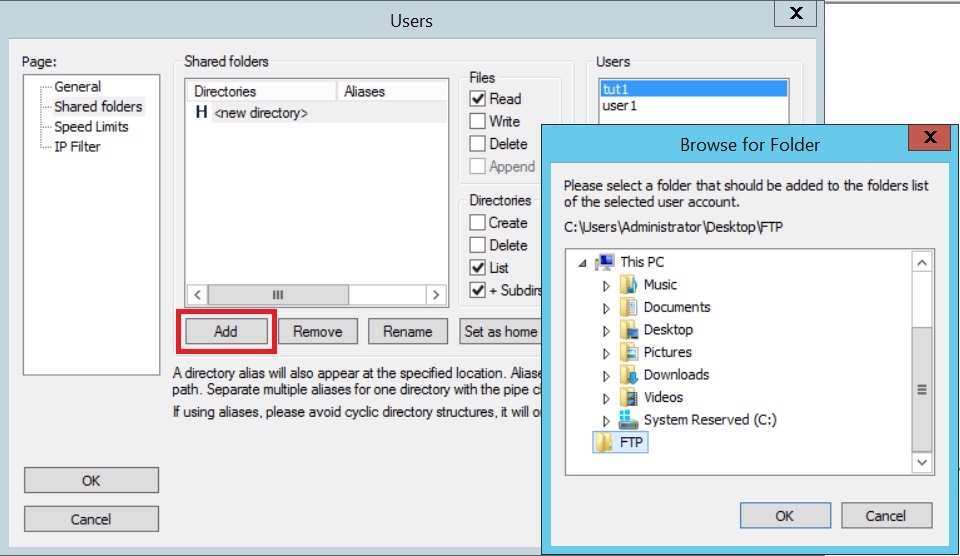
Step 6: First create a folder on your server to store the files sent via FTP. Click on “Shared folders” inside the Page box on the left, then click on the “Add” button under the Shared Folders box and browse for the folder you have just created. Click “OK” after finish selecting the folder.
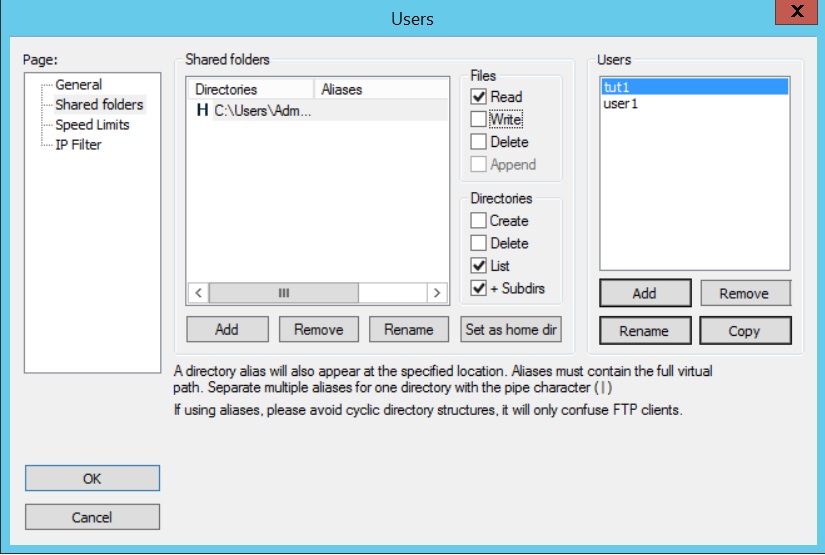
Step 7: Now you can set the permission for the folder. The capital H next to the directory means that it’s a home directory.
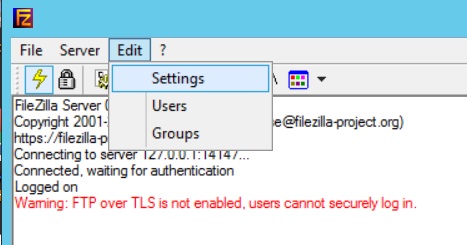
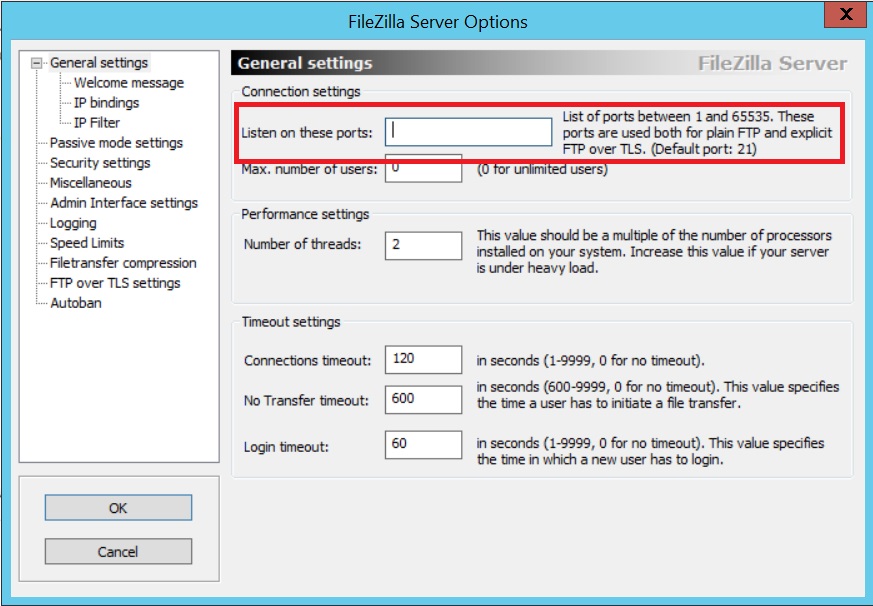
As a security measure, click on Settings under the Edit tab, then change the port that FileZilla will listen to, preferably a random 5-digit number as port number. This is just to prevent easily locating for possible hackers.
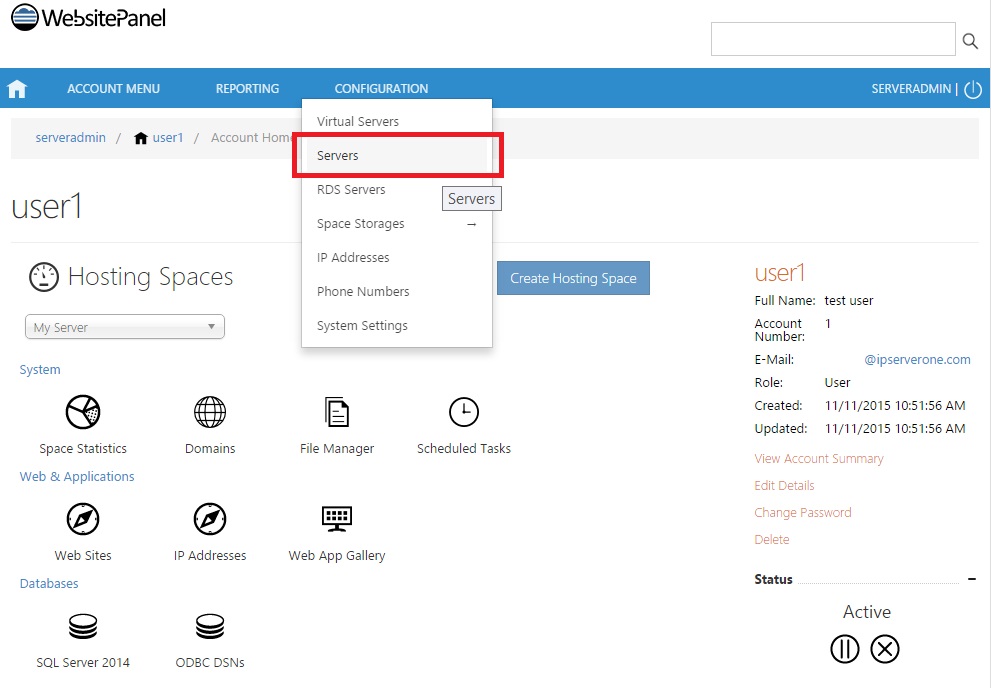
Step 8: Now login to WebsitePanel and click on “Servers” under “CONFIGURATION” tab.
Step 9: Click on My Server.
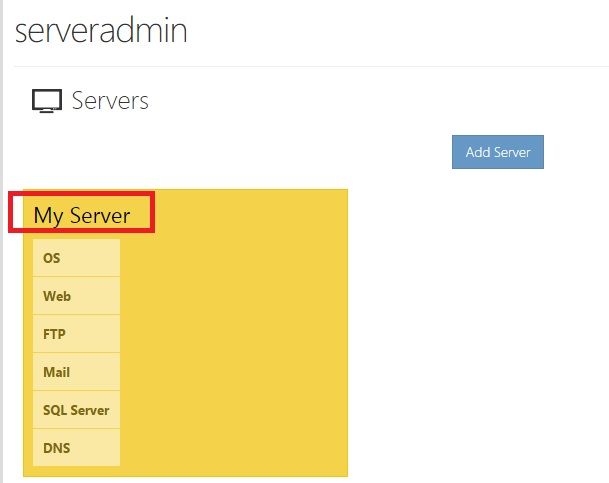
Step 10: Scroll down and click on the small “Add” besides the “FTP” tab to add a new FTP service to your server.

Step 11: Choose “FileZilla FTP Server 0.9” (current latest version) from the Service provider drop down list, then click “Add Service” to continue. It will scan your system for FileZilla FTP and add it into WebsitePanel if it finds it.

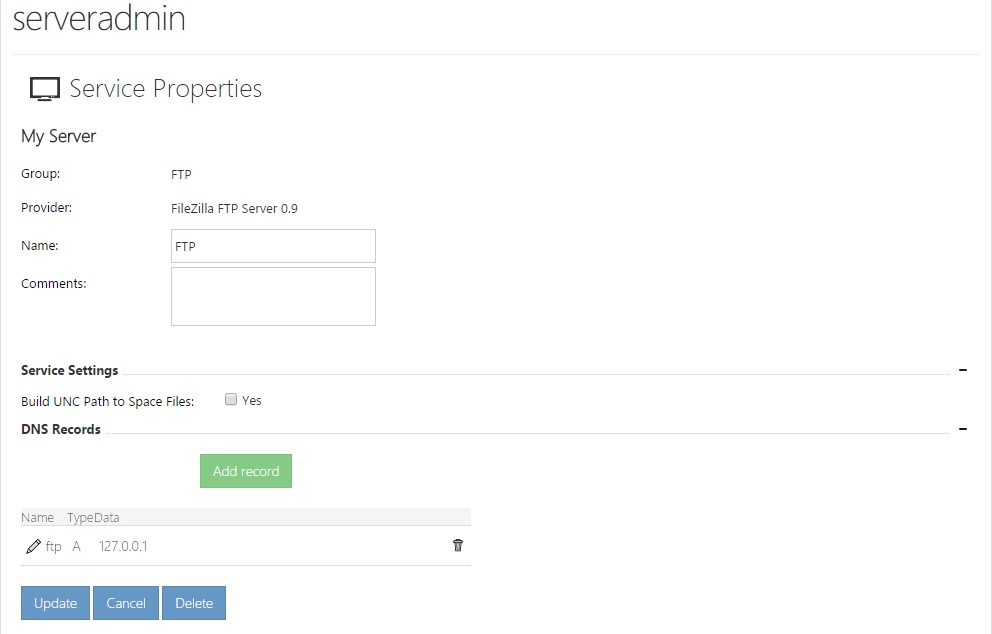
Step 12: The new FTP service is now added to WebsitePanel. You can perform additional settings to the service here if you like, just remember to click Update when done.